For the past few months, 6239 has had a creaking in the front suspension when the DMC would roll over speed bumps or sometimes when a passenger would exit the car. Consensus said start with the stabilizer bar bushings. So, given that the car is in the air for extensive winter maintenance anyway, starting with the stabilizer bar seemed like the logical choice.
First, the DMC was jacked up carefully on the front frame behind the extension with plywood "pads" between the jack and the frame as well as the jackstands.
Next, the front wheels were removed and set aside. Then the stabilizer bar was inspected for rust and damage.
Even though the stabilizer was reconditioned in 2005 by PJ Grady, time had already caught up with the bar again. Large sections of paint were flaking off and rust was visible in places. When removed, the bar will have to be sanded and resprayed.
The service manual says to begin with the center mounts underneath the radiator and front fascia.
With this step, BE CAREFUL. The stabilizer bar is under tension at these points. Removing the bolts rapidly could result in the bar disconnecting suddenly, swinging downwards and, in the words of Fry from Futurama, "wanging you in the head." Be mindful of how you're positioned and take your time. I recommend loosening each bolt in alternating intervals to equalize the tension as the brackets are disengaged.
Once the brackets are removed, the hinged bushings can be taken out along with the rest of the reinforcement hardware. Your bar should now be suspended freely under the front fascia of the vehicle. Unless it hit you in the head on the way down and you're laying unconscious on the garage floor, take a moment to enjoy your work.
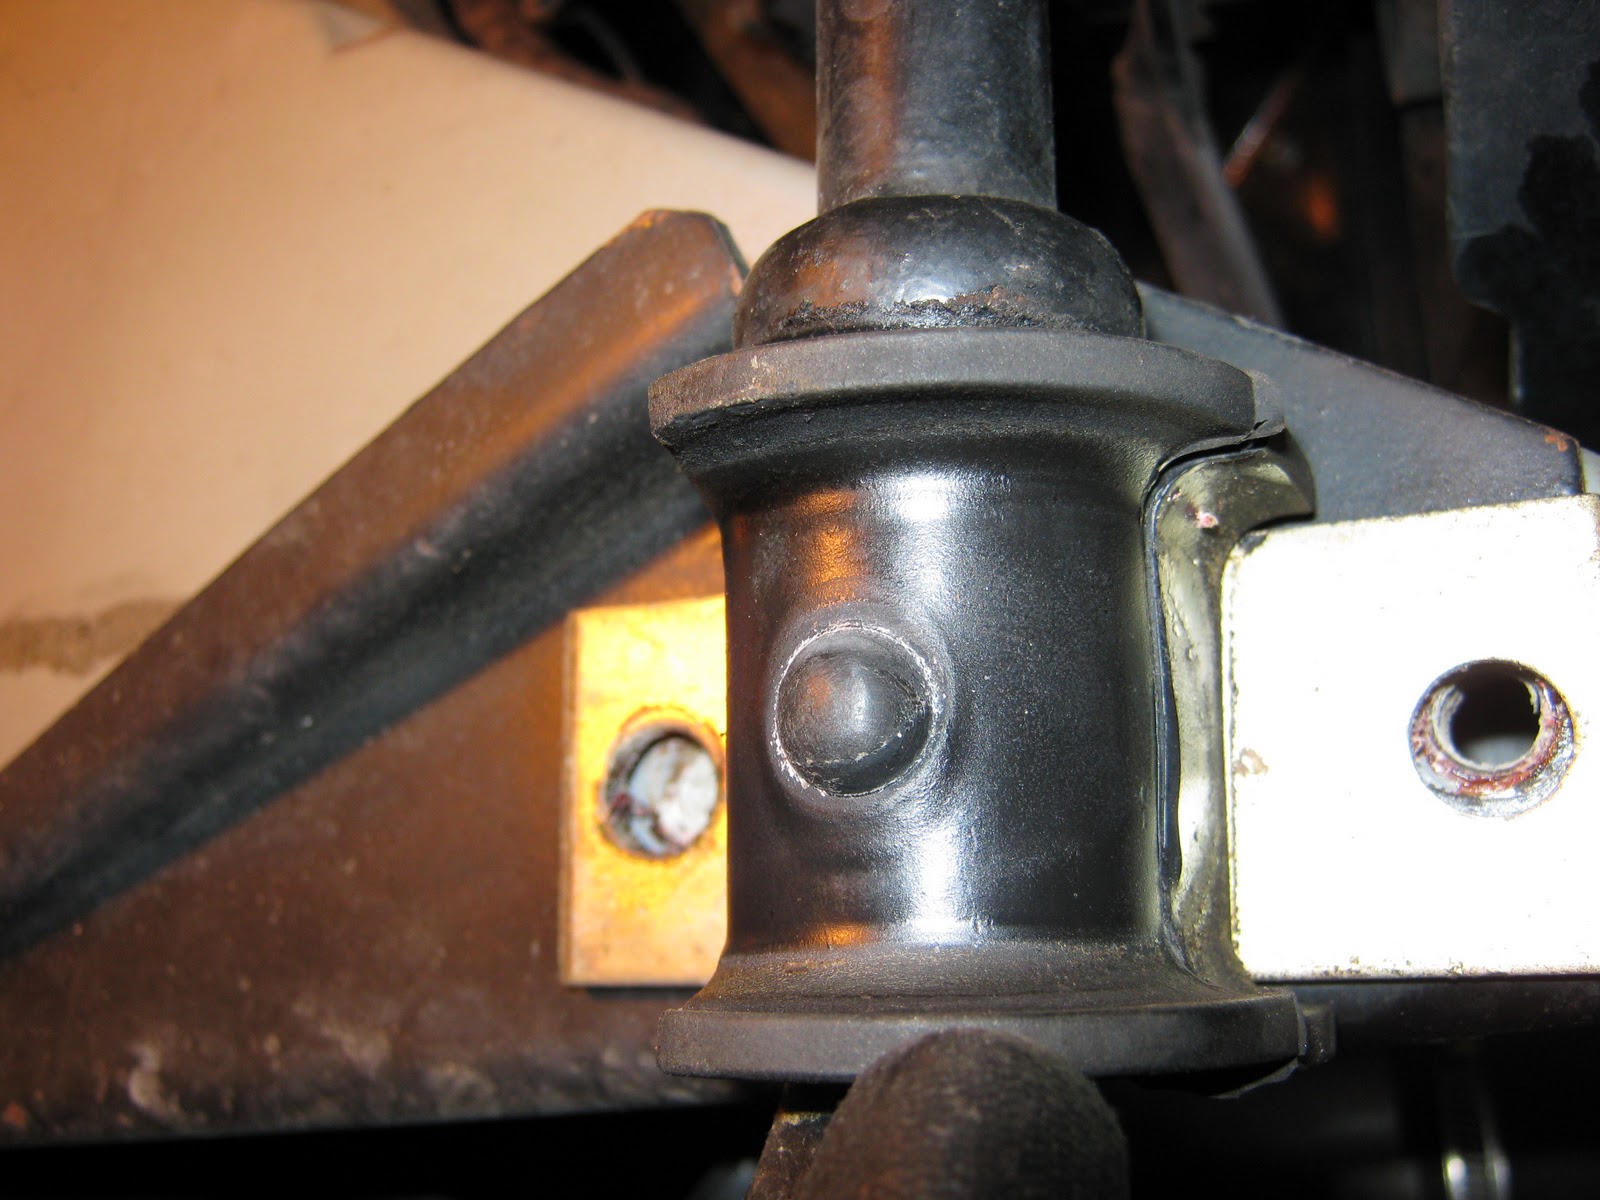
Time to move over to your Lower Control Arms where the stabilizer bar is held in on each side by a pair of bolts that are double-nutted.
PB Blaster may be necessary here. Go slowly as these bolts are specifically torqued and can be tough to get moving. Remember you will have to re-torque these properly when you re-install your stabilizer. Once these are removed, return to the front of the car and gently pull the bar out from the center. Likely the old bushings (two on each arm) and washers will come out with the bar. Be sure to replace these before re-installation.
There you have it. Depending on how carefully you take it, this can take 30 minutes or less to accomplish.
Much to my dismay, these bushings looked to be in relatively decent shape. Looks like I'm still on the hunt for what is creaking in my front suspension...


No comments:
Post a Comment