Tuesday, November 30, 2010

Red Letter Date: February 26, 2010 - 6239's First Movie Premiere

So, in the bitter cold of February, I get a call from a local filmmaker who made a movie called "The Dinner Guest." He decided to premiere the film at 5 Seasons Brewery in Atlanta around 7 p.m. and he needed a DeLorean at the red carpet premiere because the film was set in the 1980s and had a DMC-12 in the movie.

They had velvet ropes and a security guard there to watch the car, but man was it ever cold! Melinda and I were stuck in the basement kitchen of the brewery freezing our tails off for hours while all of these hoity-toity types in evening gowns looked at us like the hired help. It was weird, and VERY COLD.

Monday, November 29, 2010

Irvin Kershner, director of The Empire Strikes Back - RIP

We interrupt this regularly scheduled car blog to bring you some saddening news. Irvin Kershner, director of the greatest Star Wars film, The Empire Strikes Back, has died. He was 87. You will be missed greatly.

Tuesday, November 23, 2010

Back to the Future 25th Anniversary Temporal Experiment!

Video from the October 26th recreation of the Twin Pines Mall chase starring 6239 and Brian's VW Microbus from Atlanta's AirCooled Addicts!

Stabilizer Bar Removal Process

For the past few months, 6239 has had a creaking in the front suspension when the DMC would roll over speed bumps or sometimes when a passenger would exit the car. Consensus said start with the stabilizer bar bushings. So, given that the car is in the air for extensive winter maintenance anyway, starting with the stabilizer bar seemed like the logical choice.

First, the DMC was jacked up carefully on the front frame behind the extension with plywood "pads" between the jack and the frame as well as the jackstands.
Next, the front wheels were removed and set aside. Then the stabilizer bar was inspected for rust and damage.
Even though the stabilizer was reconditioned in 2005 by PJ Grady, time had already caught up with the bar again. Large sections of paint were flaking off and rust was visible in places. When removed, the bar will have to be sanded and resprayed.
The service manual says to begin with the center mounts underneath the radiator and front fascia.
With this step, BE CAREFUL. The stabilizer bar is under tension at these points. Removing the bolts rapidly could result in the bar disconnecting suddenly, swinging downwards and, in the words of Fry from Futurama, "wanging you in the head." Be mindful of how you're positioned and take your time.  I recommend loosening each bolt in alternating intervals to equalize the tension as the brackets are disengaged.
Once the brackets are removed, the hinged bushings can be taken out along with the rest of the reinforcement hardware. Your bar should now be suspended freely under the front fascia of the vehicle. Unless it hit you in the head on the way down and you're laying unconscious on the garage floor, take a moment to enjoy your work.
Time to move over to your Lower Control Arms where the stabilizer bar is held in on each side by a pair of bolts that are double-nutted.
PB Blaster may be necessary here. Go slowly as these bolts are specifically torqued and can be tough to get moving. Remember you will have to re-torque these properly when you re-install your stabilizer. Once these are removed, return to the front of the car and gently pull the bar out from the center. Likely the old bushings (two on each arm) and washers will come out with the bar. Be sure to replace these before re-installation.
There you have it. Depending on how carefully you take it, this can take 30 minutes or less to accomplish.
Much to my dismay, these bushings looked to be in relatively decent shape. Looks like I'm still on the hunt for what is creaking in my front suspension...

Monday, November 22, 2010

Snooping under the DMC reveals...

...a lot of extra work.

Looks like both front lower control arms aren't in very good shape and need some repair. And the sway bar isn't looking too great either.
In the corner of the right front lower control arm where it attaches to the frame, it looks like there is some serious rust starting, so I will need to take care of that too.
But my biggest concern when doing my inspection were these corroded connections on the fuel accumulator...Do I have a fuel leak?

First round of parts ordered for repairs...

This morning, I ordered a new Bosch O2 sensor from SpecialTAuto.com and a new wiper reservoir pump and tubing from DMC Houston.

Not including the tools or shipping, that comes to roughly $68 in parts thus far, with much more to come.

From the looks of the front suspension, I'm going to need a lot of parts in the coming weeks to make 6239 whole again. Complete rubber bushing sets, shocks and springs, new lower control arms, new cooling fans, and new rotors and brake pads are just for starters. It's going to get interesting this winter... 

Sunday, November 21, 2010

O2 Sensor Removed - Looks DOA

I doubt these are supposed to be black as midnight...

Winter Maintenance Begins!

Big winter maintenance begins. My cousin Jake and I jacked up the DeLorean and got to work.
First we removed the tires and wheels...
Once that was done, we inspected the front suspension due to some serious creaking and we found a ton of rotting rubber bushings...
We also noticed the lower control arms and sway bar have some solid rust and corrosion.
The busted wiper fluid reservoir came out, but not without a mess...
The biggest problem of the day came from the O2 sensor. It was too cramped to completely get photos, but needless to say, I'm making another run to Sears tomorrow for some PB Blaster and Anti-Seize.
Looks like that brake job will have to wait until after the O2 sensor issue is resolved...

Tuesday, November 16, 2010

McFly Accessories

Now that Halloween is over, thought it would be fun to do a rundown of Marty McFly's outfit and gear in "Back to the Future." Of course, the infamous puffy vest, skinny jeans and denim jacket are well-known and will be the subject of another more-detailed post in the near future. For now, let's look at the rest.

Marty's shoes were Nike Bruins - white leather with a signature red swoosh. Alas, they are not available anymore and Nike ID won't offer to make them either. So, the closest option is the Nike Cortez 06, but it has a very different sole. Ah well, beggars can't be choosers.
Then there's the sunglasses, those mirrored aviators worn only briefly at the beginning of the film and in the teaser trailer. Marty's were frosted, but not completely C.H.I.P.s frosted or anything. His also had black frames. Look around and you should be able to find a reasonable match.
Marty's watch is the famous '80s staple, the Casio calculator watch - specifically the Casio CA-53W.
In the film Marty also sports a short sleeved button down shirt over a faded maroon undershirt. The outer shirt is white with a checkered black pattern and signature cuffed sleeves made by Shah Safari.
Over the shirt he wears "X" pattern black elastic suspenders with 3/4" width.
 
Then there's Marty's cassette player of choice, the Aiwa HS-PO2 MKII. These are hard to find, but for the less insane, you can always try and locate the equally rare Aiwa HS-PO7 in silver. These are the same players, the only difference being the tiny number on the face. Below is the latter version.
And finally, to make the whole thing complete, remember Marty's JVC GR-C1U camcorder (discussed in a previous post) and, of course, always have a little information about the future when you time travel...
A note from your girlfriend never hurts either...

Wednesday, November 10, 2010

A DeLorean's Full Repair and Restoration Record

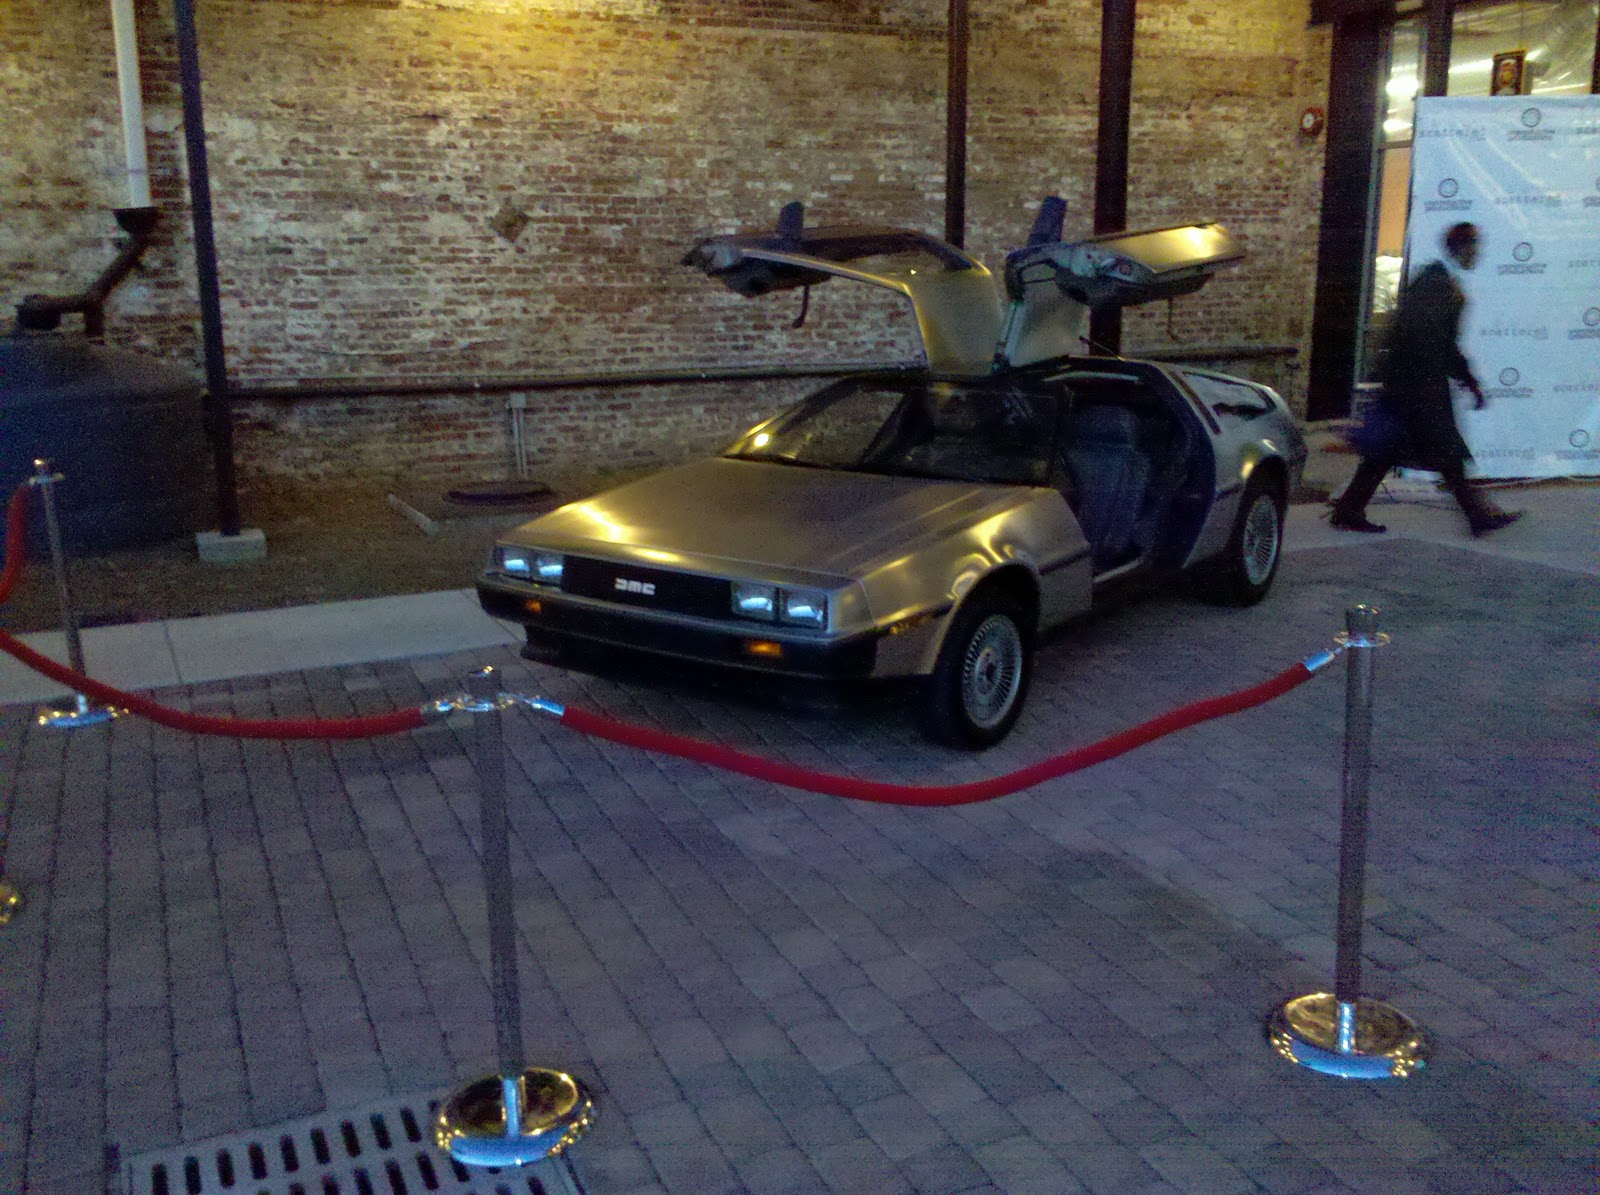
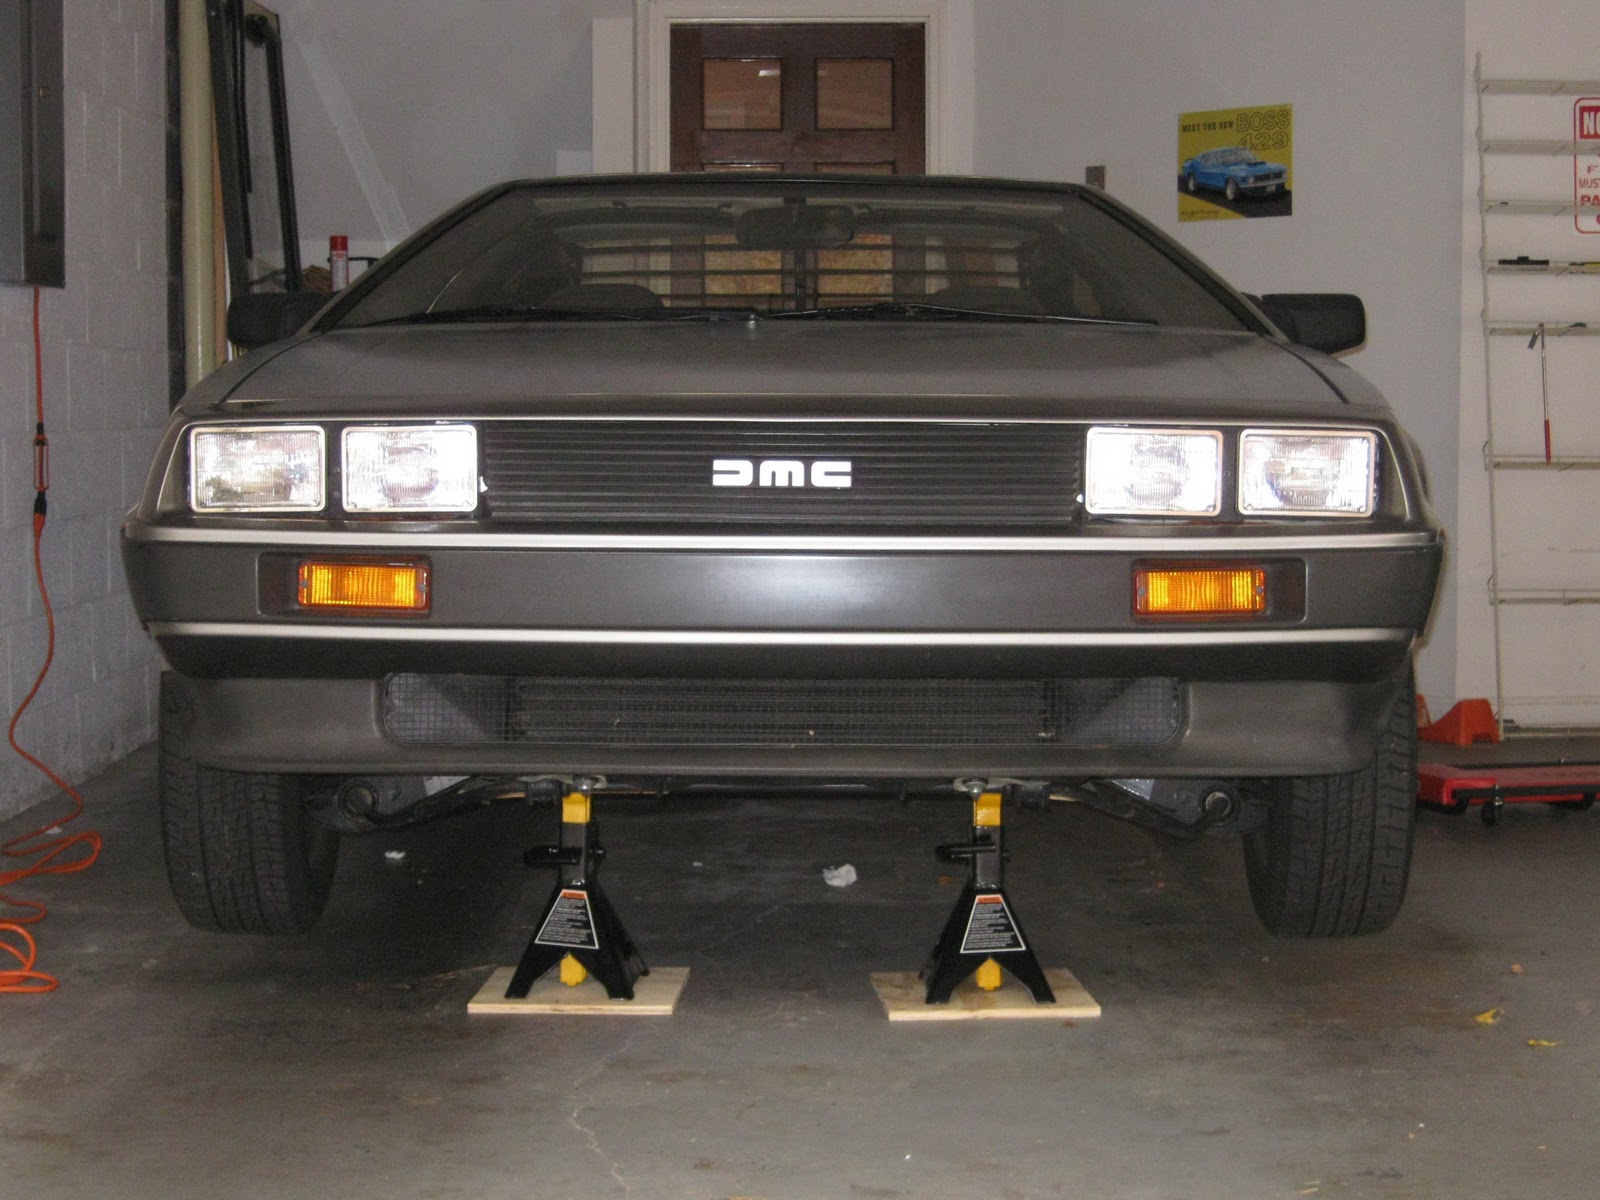
When I found 6239 on a Hemmings advertisement at a Classic Car Gallery in Connecticut around late March of 2009, the ad said the car's previous (and second) owner had given the DeLorean an extensive restoration at P.J. Grady in New York. Little did I know at the time just how extensive that was for the poor car. Rob Grady told me he believed this was in the top five percent of surviving cars that he'd seen. From the looks of his records it is clear he put in a helluva lot of time getting 6239 into that percentile.

I've typed up the entire PJ Grady repair record for 6239 and copied it below. Anything in quotes was an item in which I couldn't interpret the handwriting so I just left it as literal as I found it. Maybe someone out there smarter than me can tell me what some of it means.
The first picture of 6239 I ever saw...

 
6239 Restoration Repair Record
PJ Grady – 4/15/05 to 4/14/06

  • 200-point mechanical inspection
  • Charge & test battery
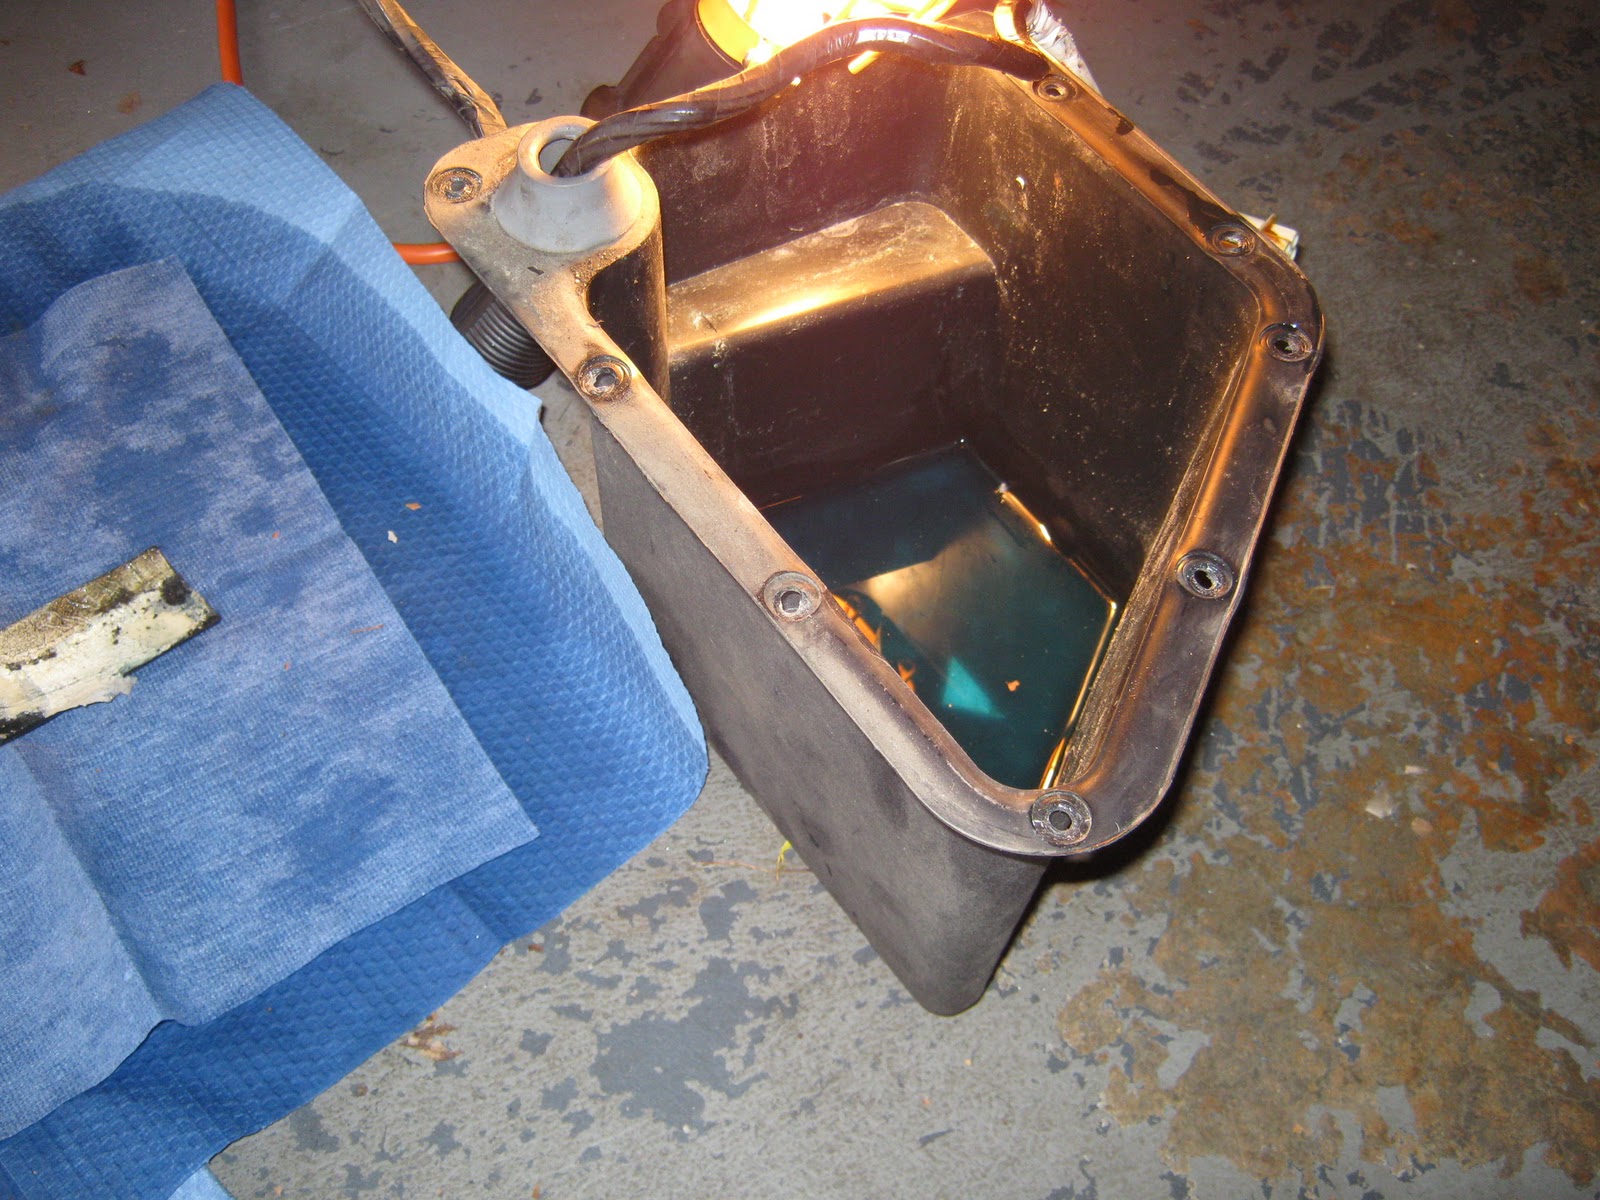
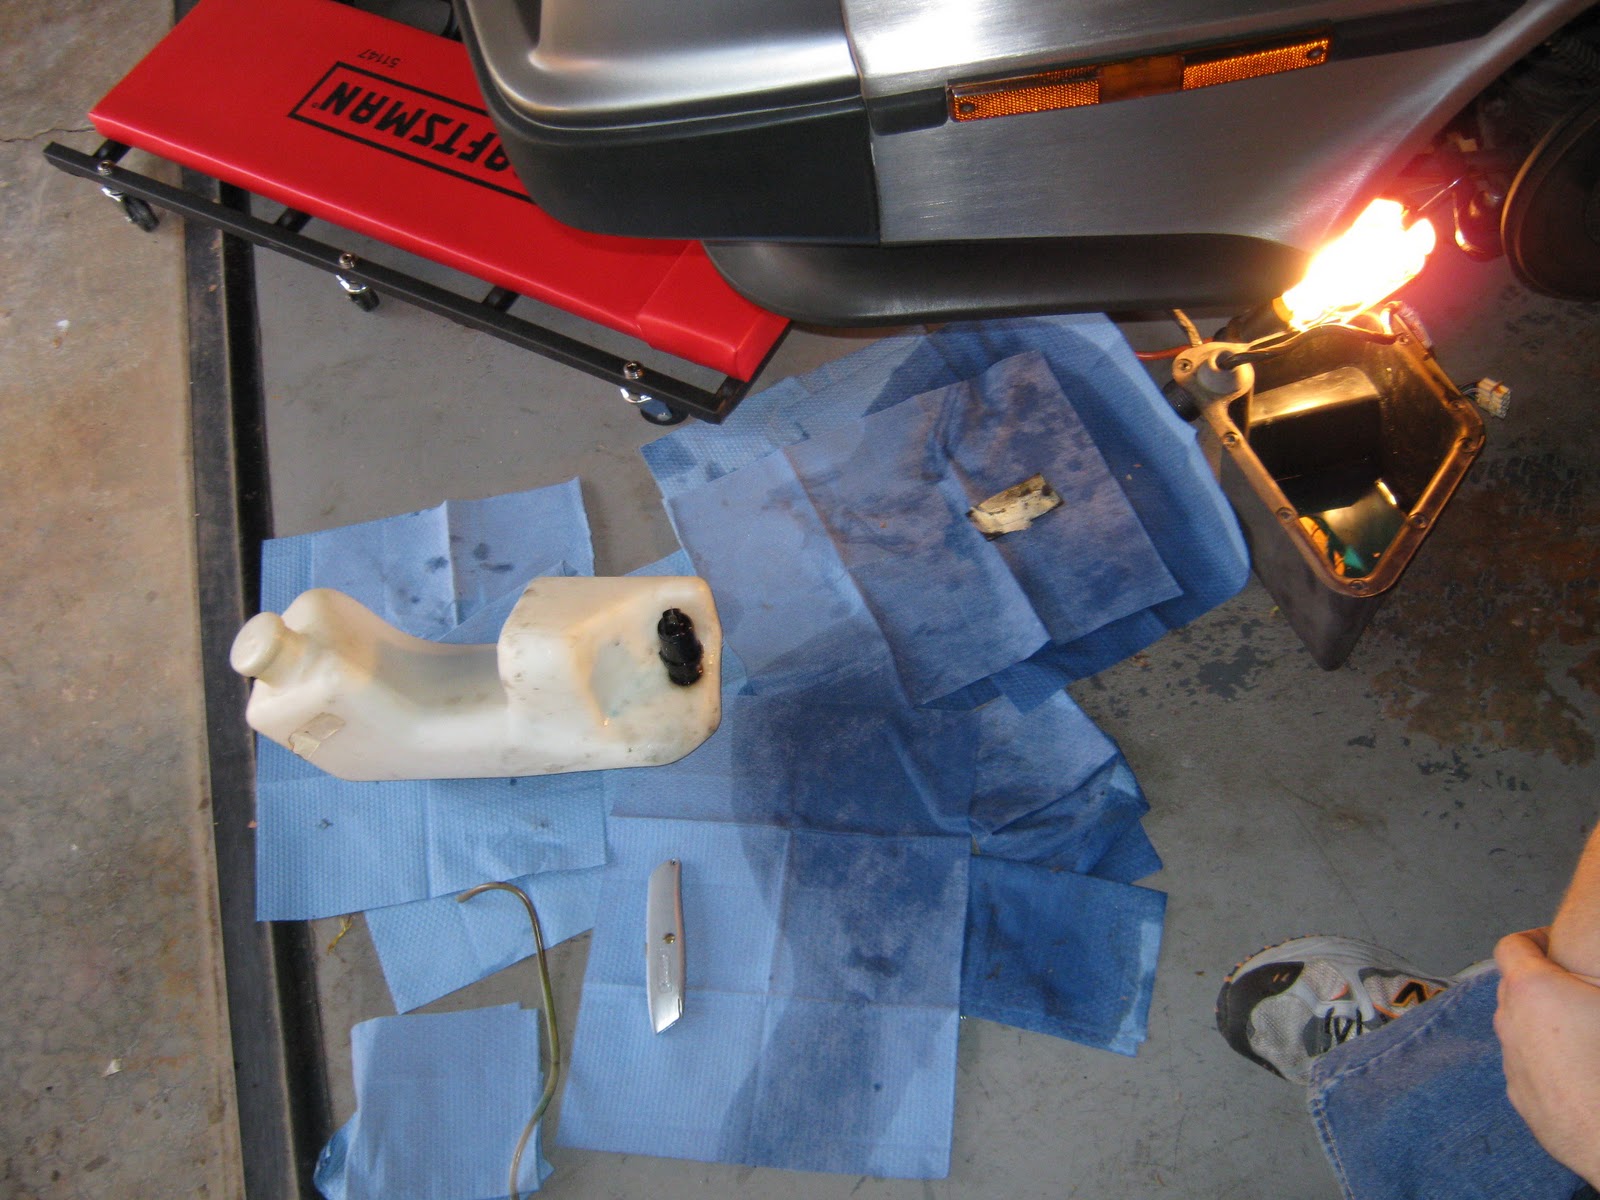
  • Engine starts & stalls – Fuel tank contaminated. R&R fuel tank, clean w/acetone, clean baffle, replace screen, replace fuel pump, boots, return pipe, support bracket, harness, lower return hose & both upper hoses
  • Replace fuel filter
  • Replace fuel tank sender
  • Replace fuel accumulator & both hoses (R&R console “& roy”)
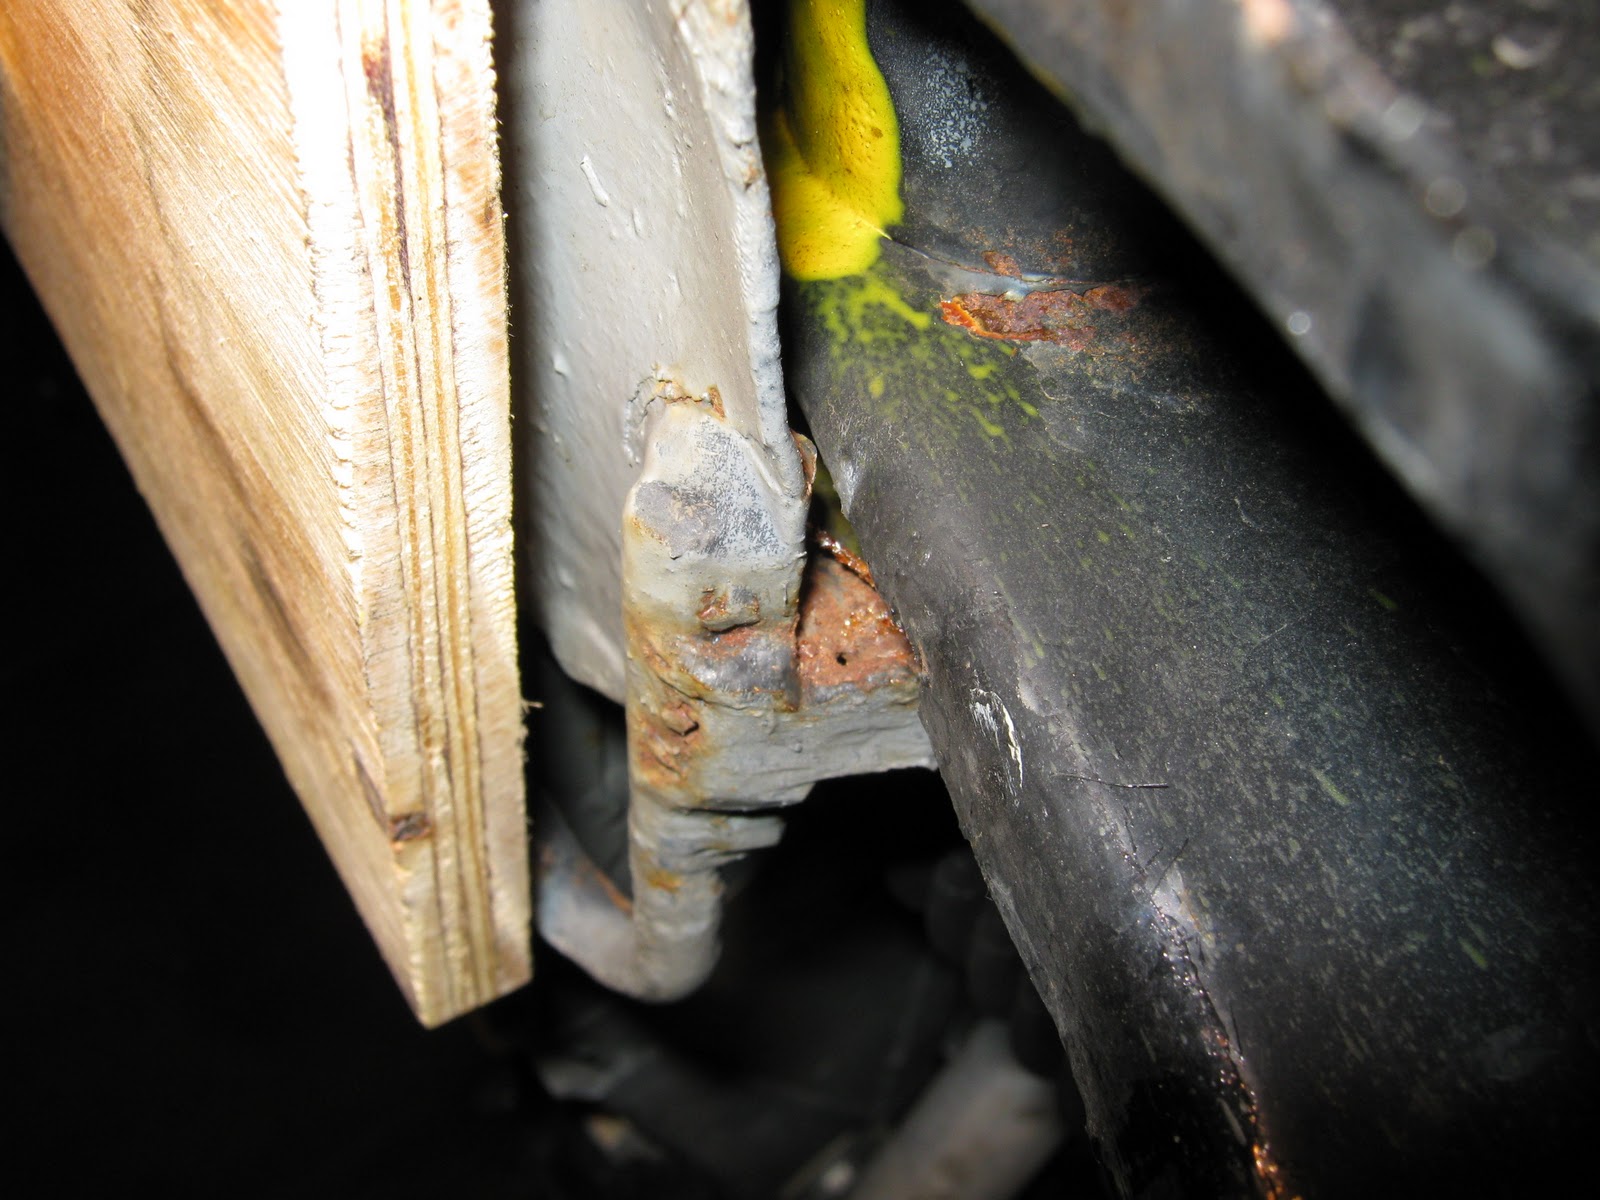
  • Weld torn Right Front tow hook – sand & epoxy all tow hooks
  • Spot refinish fuel tank closeout plate & replace fasteners
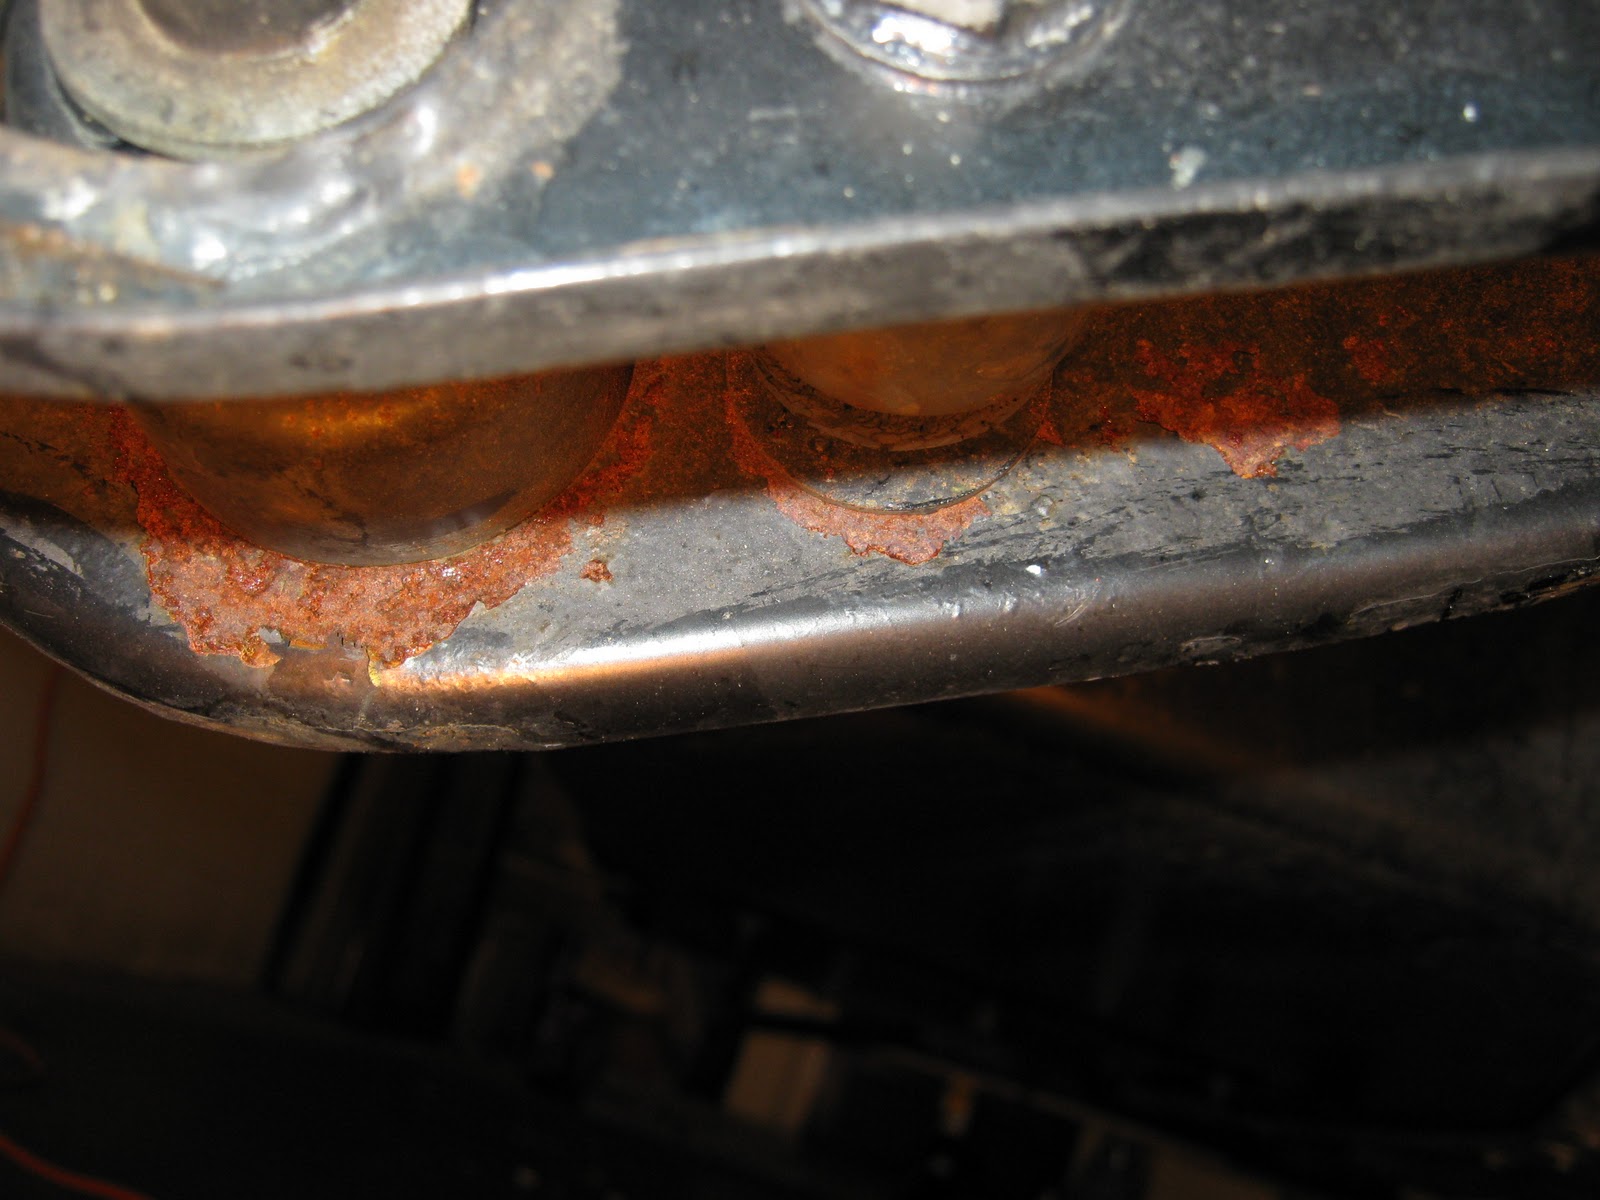
  • Spot refinish Left Front frame rail & misc spots on frame
  • Scrape out loose epoxy in rear frame inner towers & apply body wax, drill “front C. mbr & repeat”
  • Sand front (outer) lower control arms & rust guard
  • R&R steering column & replace bulkhead bushing (broken)
  • Replace tie rod outer boots (torn)
  • R&R Trailing Arm Shields, install bracket kit, check “table nut pivot bolts” (TABs???)
  • Flush brake system & replace Right Front caliper hose (clogged)
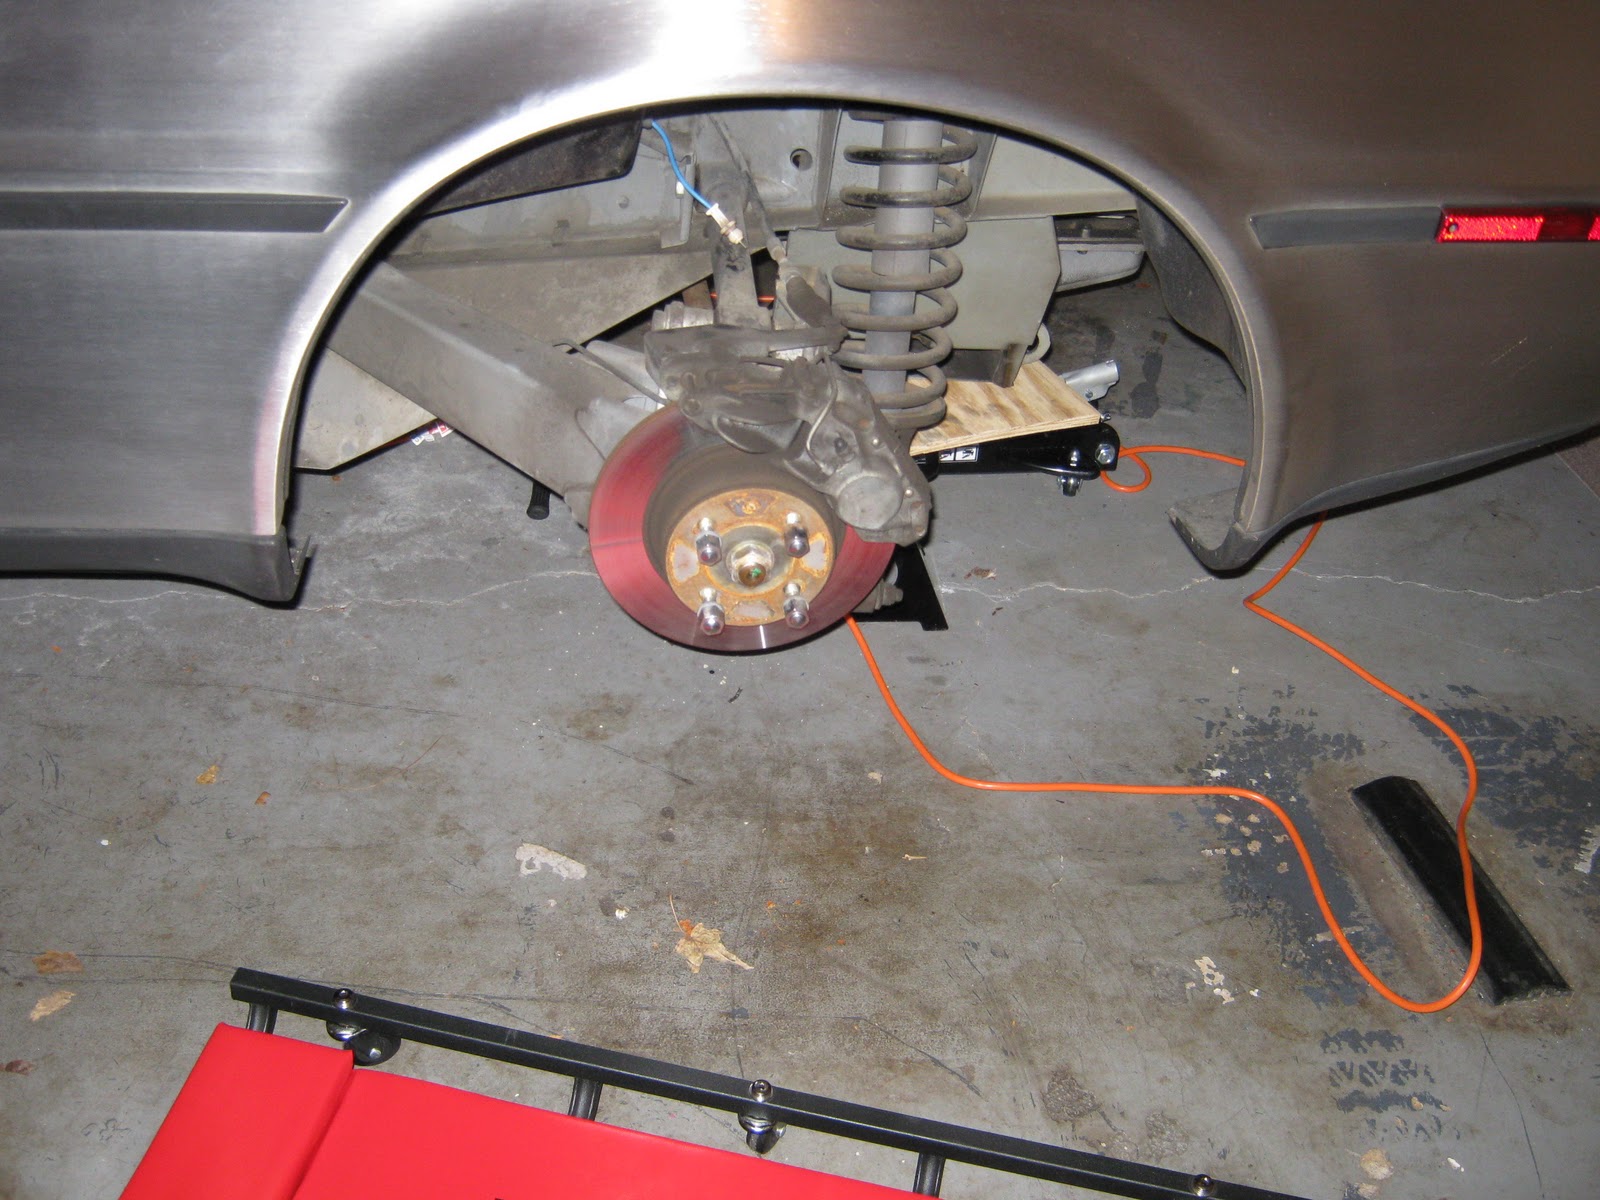
  • DA” rotors (rusted) & adjust parking brake (weak)
  • Reverse lights inoperable. Replace switch & harness
  • Flush clutch fluid w/DOT4
  • Replace all fuses & clean fuse block “conn” (connections)
  • Replace air filter (dirty) bolts & inlet duct (torn)
  • Replace wiper blades, tighten arms & install caps
  • A/C mode switch leaks. R&R switch. Replace diaphram.
  • Re-bond heater core foam seal (leaks air)
  • Replace brake master cylinder & flush system (3x)
  • R&R all rotors & machine de-glaze pads, replace pin kits
  • R&R all brake calipers & replace seals (clean all pistons)
  • Replace Right Hand outboard parking brake pad (fell off backplate)
  • Coolant full of rust. Replace complete cooling system
  • Replace radiator, test fans, R&R all coolant pipes & clean
  • Replace all 1/4” coolant hoses & clamps on chassis
  • R&R intake manifold, “clean w/alum wash”, “R&R block pipe” & install silicone hoses, replace water pump
  • Glass bead misc. parts, replace thermostat
  • Replace front heater core hoses, replace hot water pipe
  • Replace rear heater hoses, hot water valve & Tee fitting
  • Hard start w/cold – repair loose connection & replace “Thermosw”
  • Tuneup engine. Replace distributor cap, rotor, wires & spark plugs
  • Lambda circuit inoperative- trace to bad connection
  • Replace drive belts & A/C idler pulley bearings
  • Replace fuel filler O cap (rusted)
  • Chassis lube, replace oil filer, lube angle drive
  • 1.5 gallons antifreeze, 7 quarts oil, 1 lb grease
  • Replace hood release cable(kinked) R&R latch, file & adjust
  • R&R sunshade, repair 3rd rib, install support bracket
  • Refinish sunshade & all quarter panel louvers
  • Drill engine cover, install thread & striker & adjust
  • Replace S/S grilles
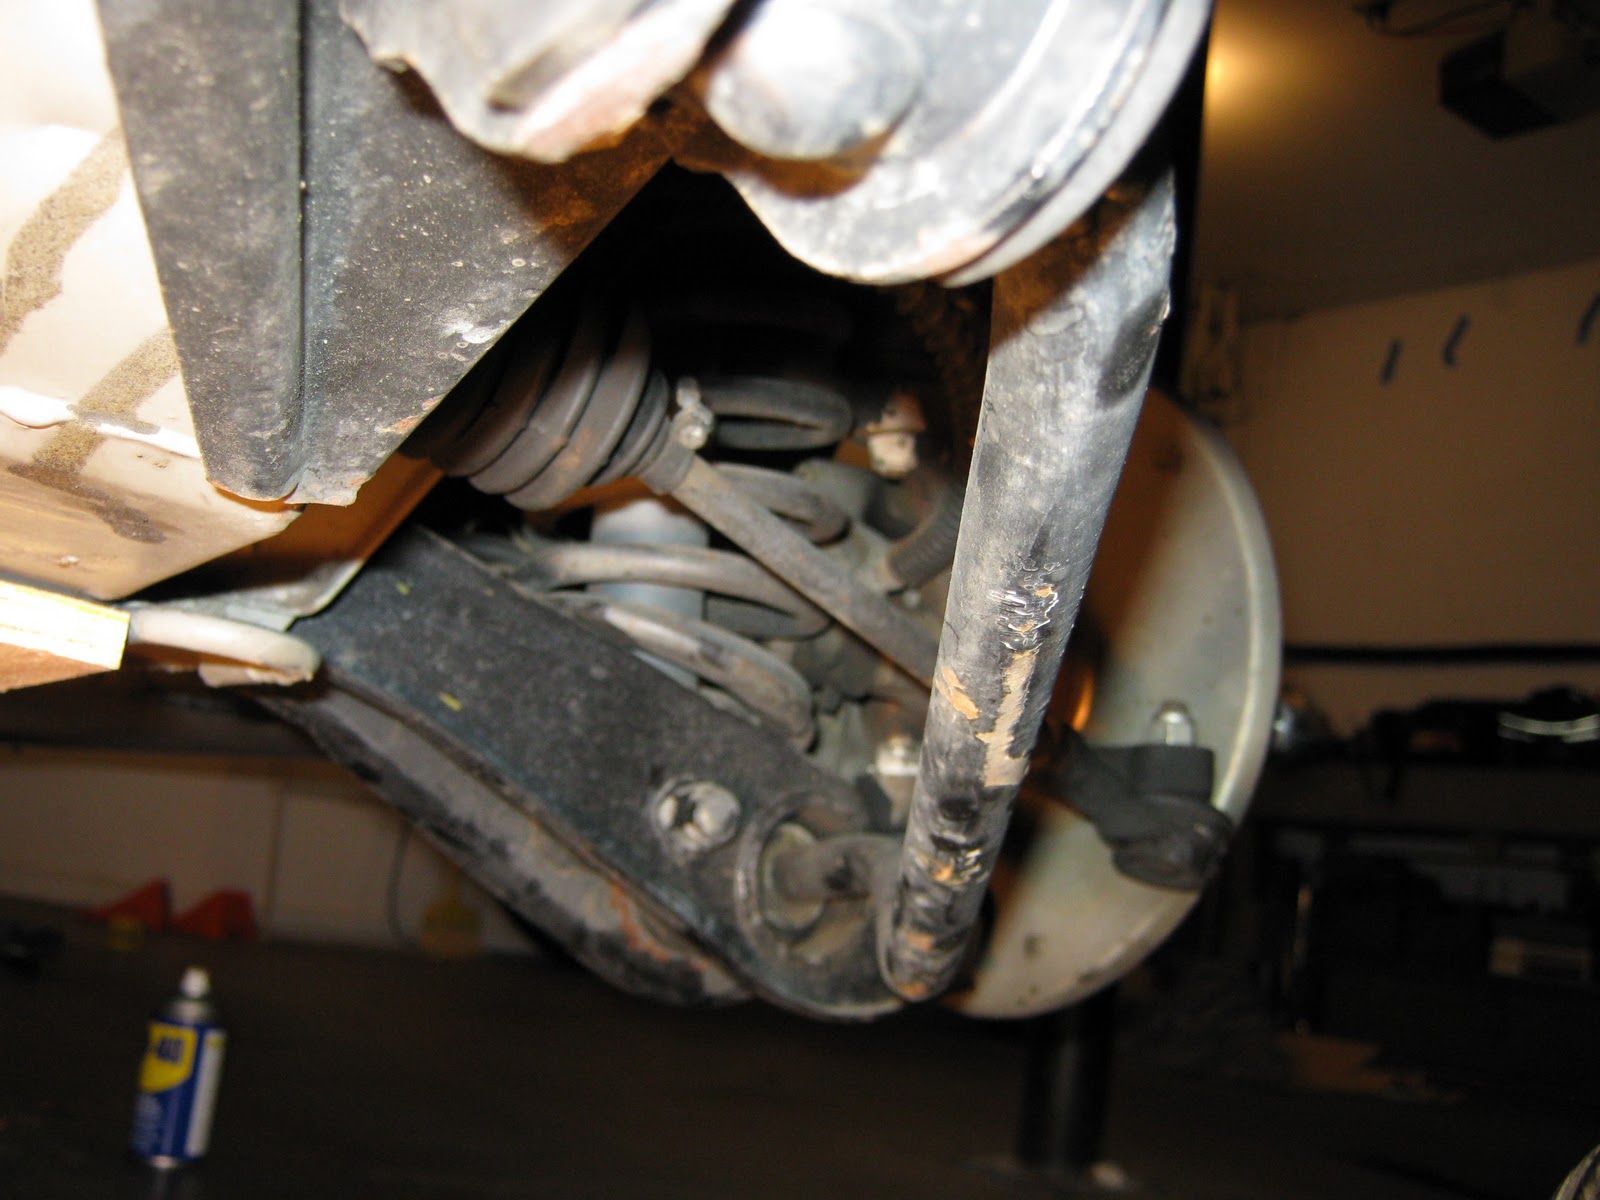
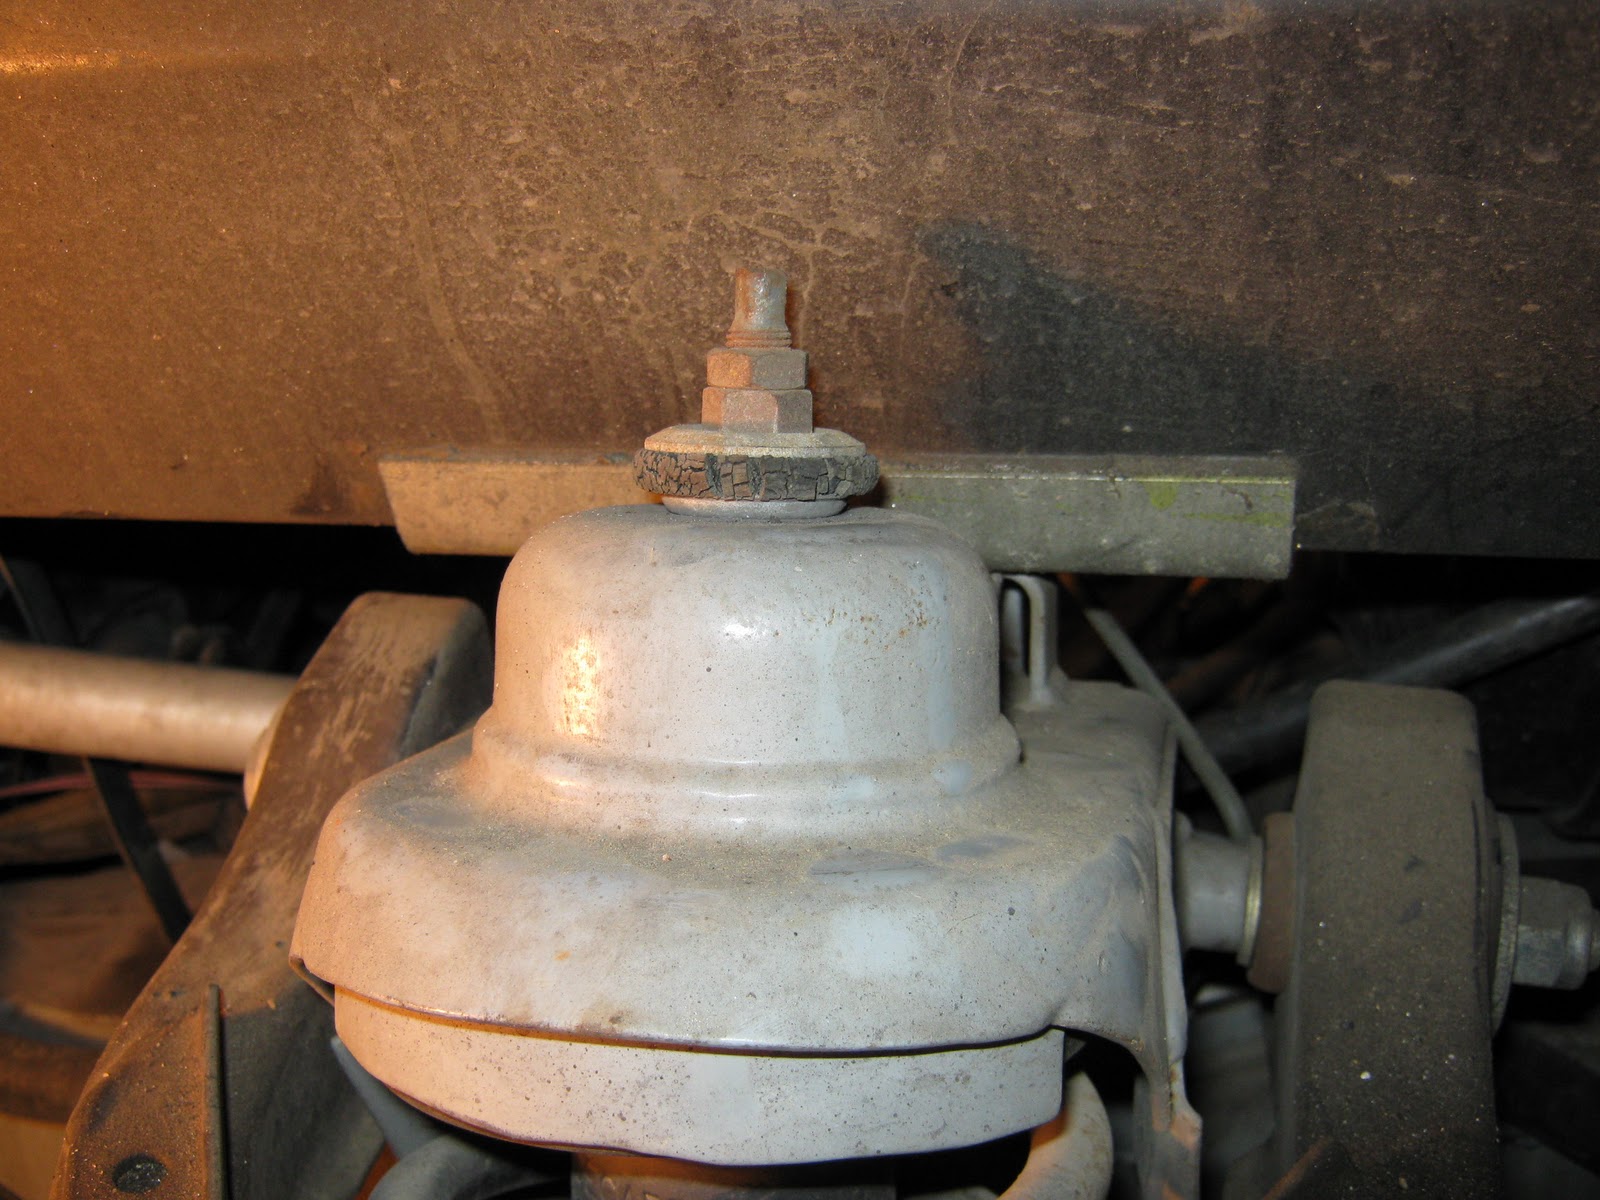
  • Sand & apply rust guard to front lower control arms (rusted)
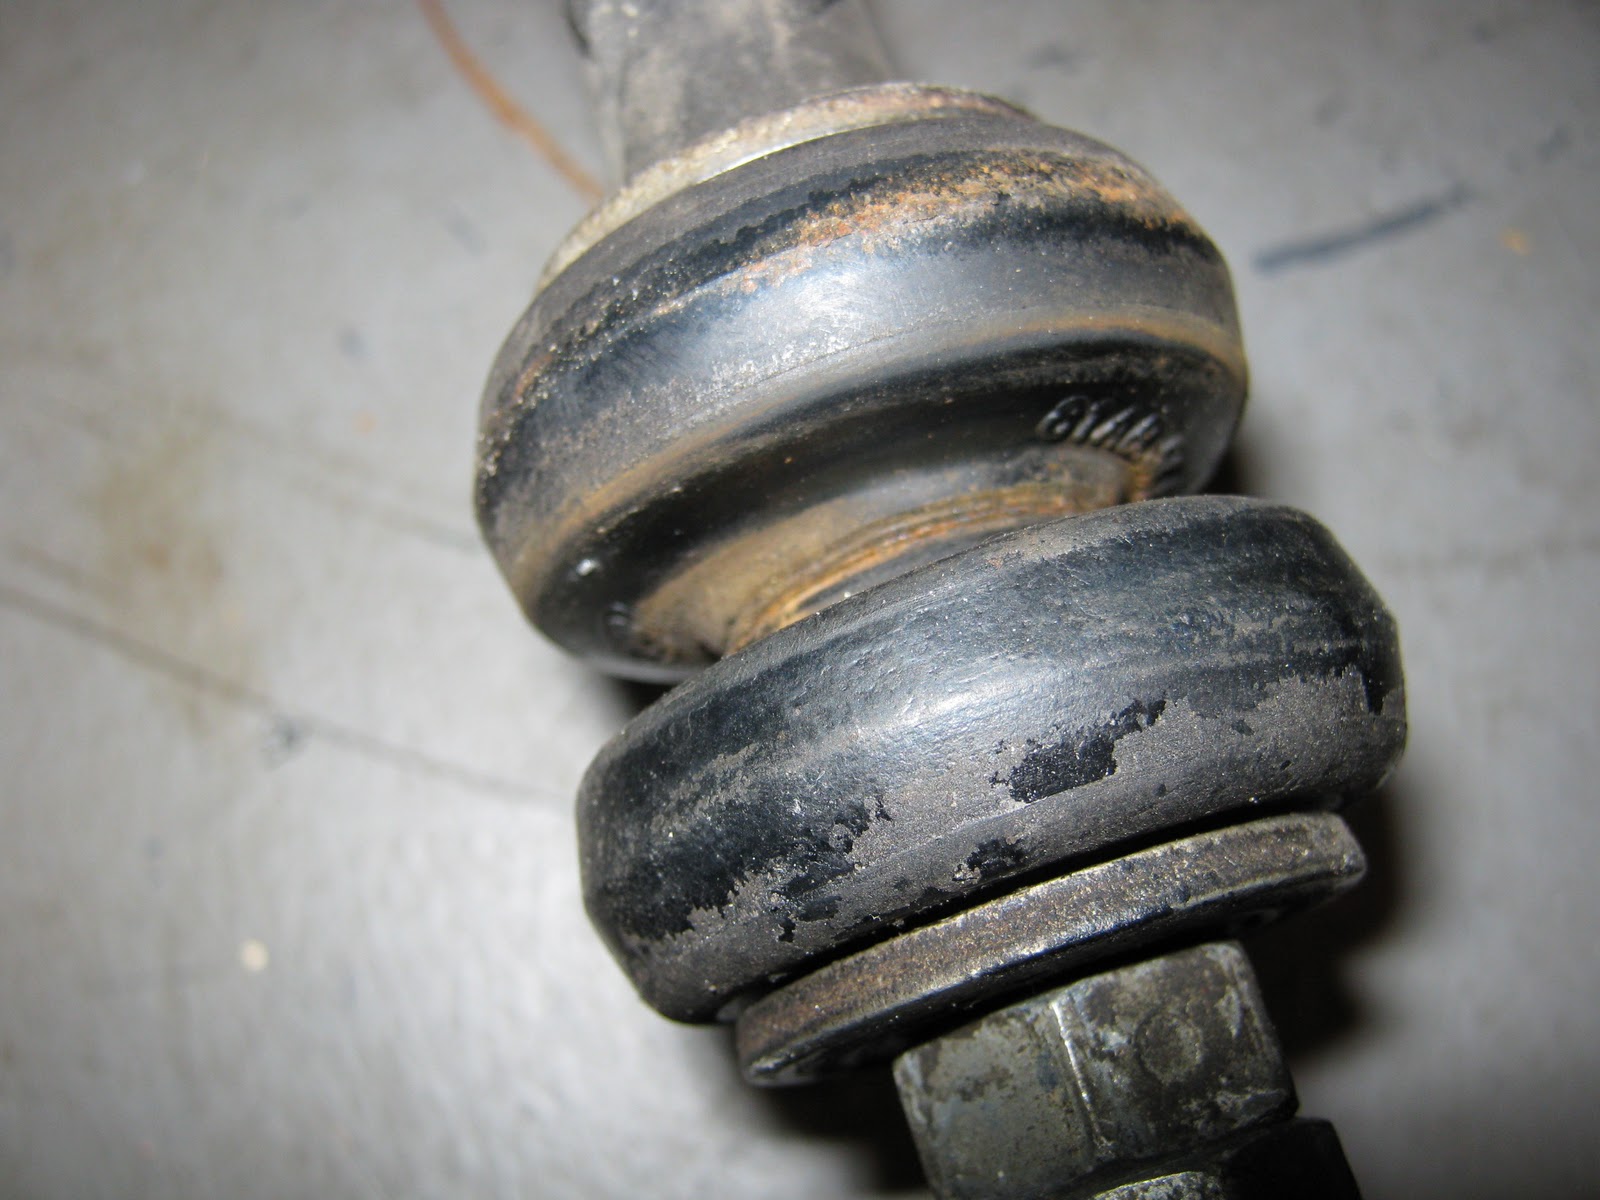
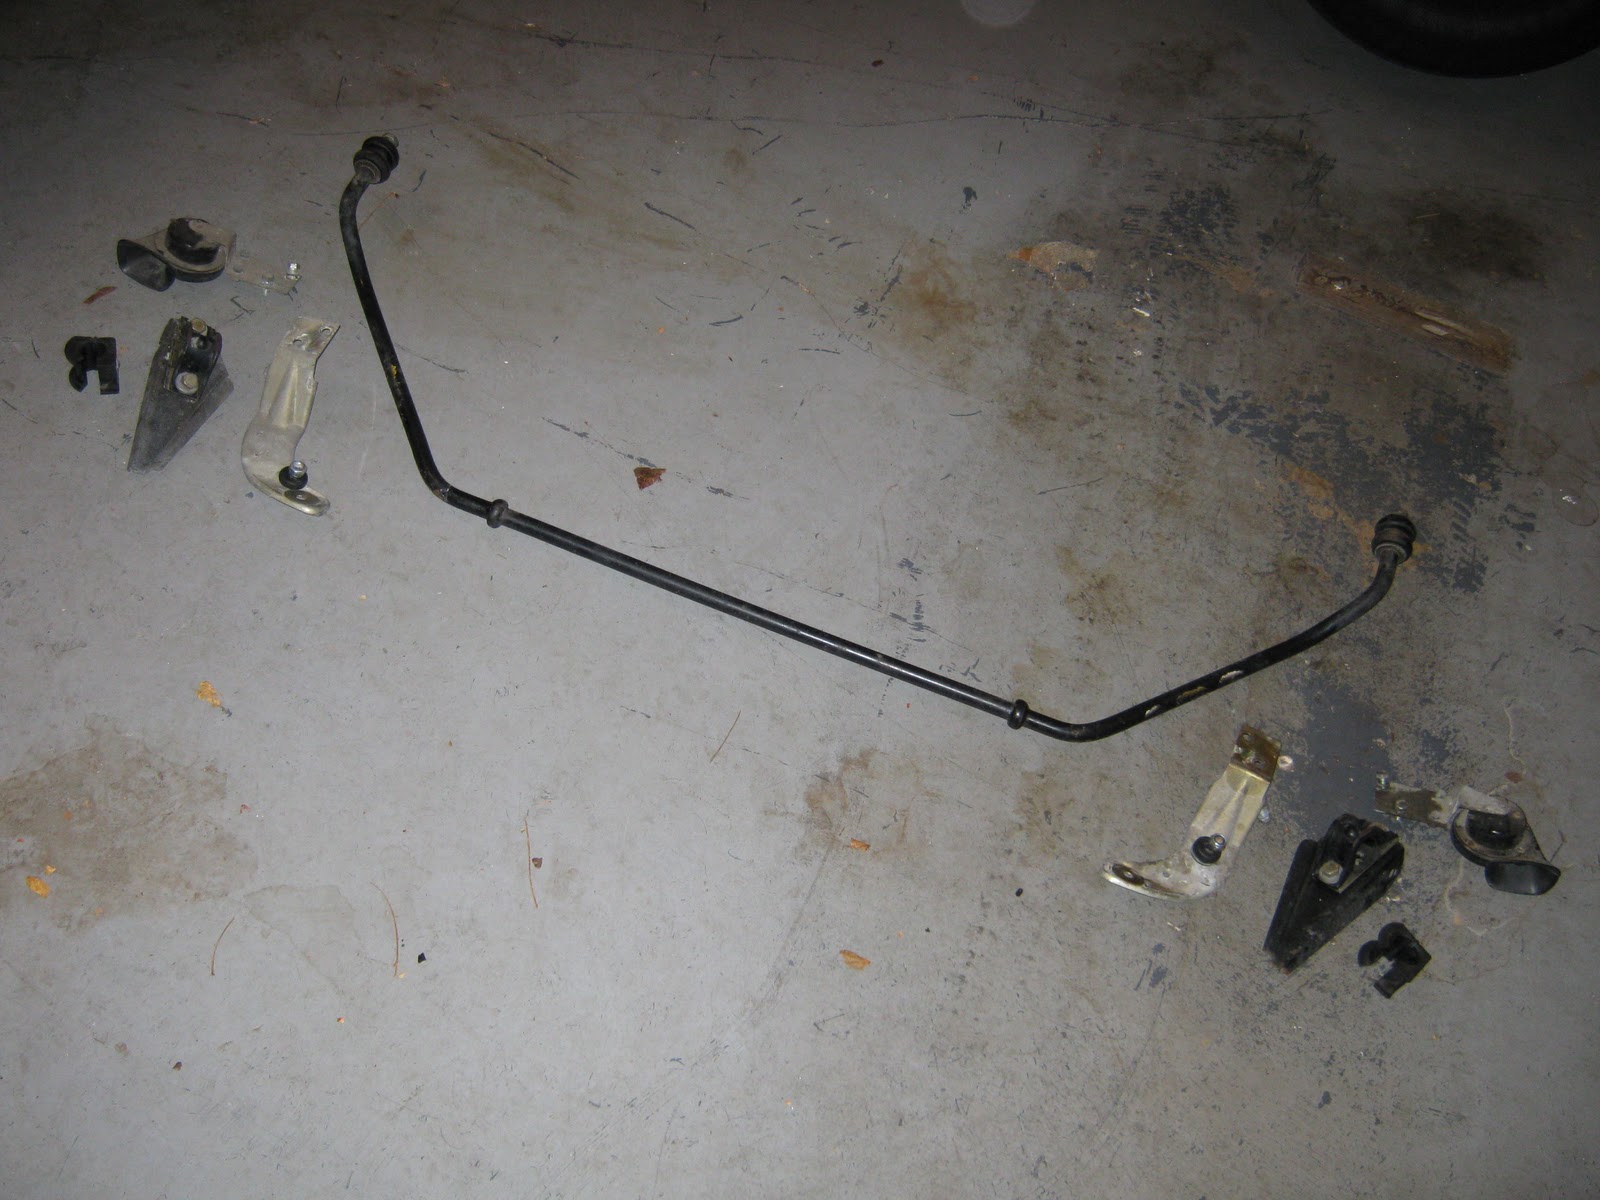
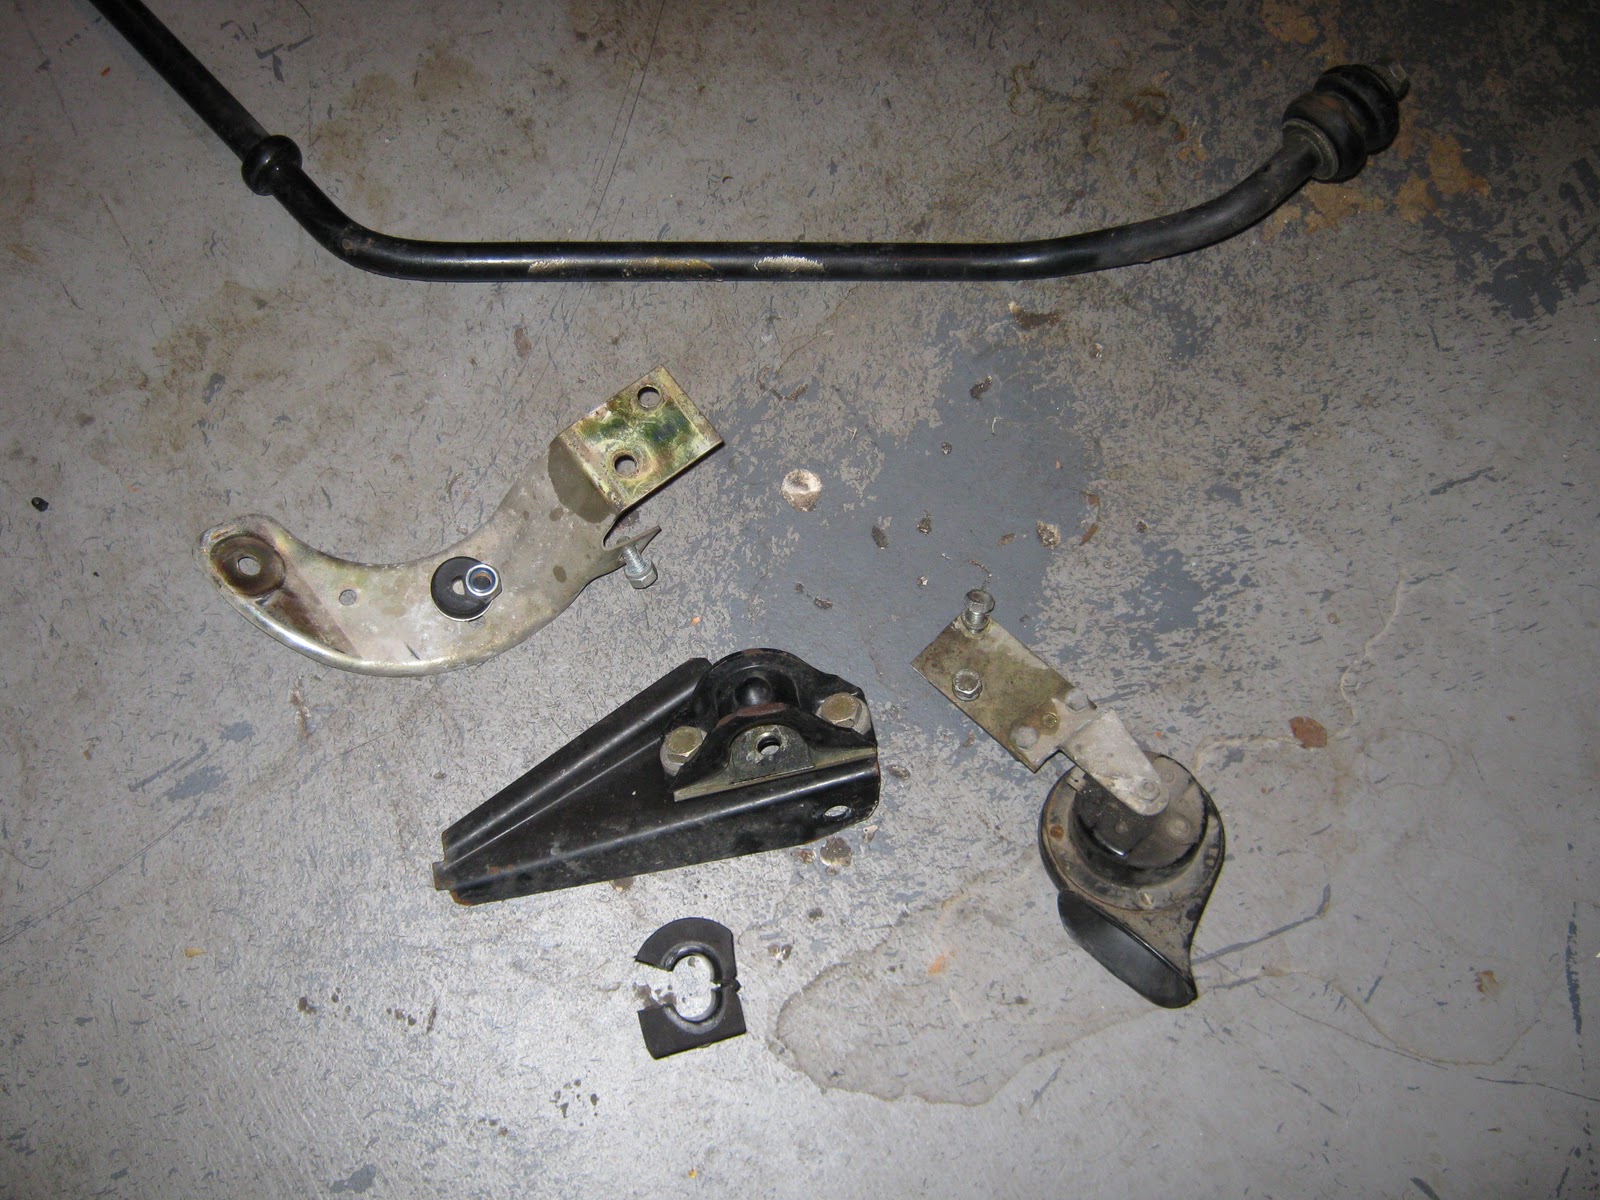
  • R&R stabilizer bar & refinish – Replace clamp & end bushings
  • Replace “Oil Pres, (18#) & Light senders (leaks)”
  • Replace clutch cylinders & install braided hose
  • Shifter stiff – lube shifter & replace pivot bolt nut & washer
  • Mount & balance Firestone Firehawk tires
  • Replace tail lamp circuit boards & screws
  • Replace both window regulators & all trim clips & foam seals
  • Adjust Right Hand window guides (falls off track)
  • Replace upper & lower speedometer cables (R&R instrument cluster)
  • Replace headliners & seal roof rivets
  • Water test & R&R w/shield header panel & support strip
  • Remove old sealant & reseal windshield
  • Modify (re-contour) body edges to clear door opening & replace both door surround seals
  • Replace all A&B post weatherstrip seals
  • Replace both door sill seals & screws
  • Modify B post Left Hand trim pad & replace mounting clips
  • Re-shim & adjust all door strikers
  • Adjust both “ext. lockrods” & check all others
  • Replace both door pistons & adjust Right Hand Torsion Bar (too strong)
  • R&R sunshade & refinish. Install support bracket kit
  • Refinish door mirrors & quarter panel vents & louvers
  • R&R T-roof & repair 2 dents, Right Hand fender 1 dent, Left Hand quarter panel 1 dent, Right Hand door 3 dents, Left Hand door 15” scratch, Left Hand fender 4” scratch
  • Install fan sequential controller, 6 interchange relays & 3 circuit breakers
  • Radio inoperative. Replace both in-line fuses
  • Air conditioning inoperative (No Freon R12) Replace orifice tube, accumulator, all o-rings, “shraeder valves,” add leak dye, evacuate & recharge system
  • Install stainless coolant bottle & S/S mounting bolts
  • Realign Left Hand door hinges (R&R T-roof & T-bar), reposition hinges & reseal/re-shim door strikers. Door was too far back and hitting filler panel
  • Loosen rocker panel (replace all clips) to access fenders. Slot Left Hand fender & quarter panel mounting holes 1/4” as needed & “realign both out at bottom fender & all quarter panel edges”
  • Replace Right Hand rear power glass track guide (bent)

    Wow - makes me kinda wonder what this car looked like when it was found!

Sunday, November 7, 2010

Caffeine & Octane Car Show @ Avenues in Marietta

The first Sunday of every month is the Avenues Cruise-In in East Cobb County. Officially called Caffeine & Octane, the free cruise-in draws 400+ cars of all makes and models. 6239 has been a regular since August. Even if you're not into DeLoreans, there is always something to see there. Countachs, Shelby Mustangs, Mercedes SLS Gullwings...a Soviet air boat. Yeah, you heard right.

Here are some photos of 6239 at past Avenues shows -

Yeah, those are TWO Mercedes SLS Gullwings to the right of 6239.
Can you spot 6239 in this photo?

Friday, November 5, 2010

Tuesday, November 2, 2010

Back to the Future Blu-Ray Case SUCKS - Here's the Fix

So, here's the best solution I've come up with for the Back to the Future Blu-Ray case -- on video for your enjoyment.

Back to the Future case solution - CLICK HERE